
How to Clean Your Mouse Pad
Mouse pads and mouse mats play an important role in ensuring a smooth and precise cursor movement. In fact, one could say that a good mouse surface is literally the foundation for good aiming.
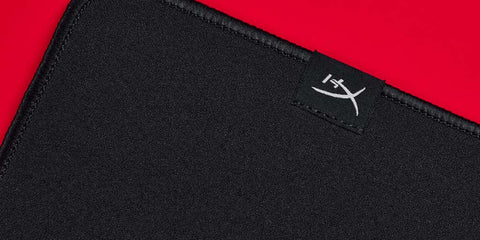
Keeping your HyperX mouse pad clean is also essential for keeping your mouse in good working condition. Over time, dust, debris, and even oil and grime from your skin can accumulate on your mouse pad. This can cause your mouse to glide improperly, and it can even transfer some of that unwanted build-up to your mouse. Cleaning your mouse pad or mat regularly can help to prolong its life, improve your gaming or working experience, and keep it looking new!
Here are some steps you can take to clean your mouse pad:

Step 1: Unplug and remove your mouse
Before you start cleaning your mouse pad, it's important to unplug your mouse and stow it safely away to prevent any accidental damage to the device. Electricity and water are only a good team in a limited number of scenarios, and this is not one of them.
Step 2: Gather cleaning materials
You will need a few basic materials to clean your mouse pad: a clean, dry cloth, an all-purpose cleaner or a mild cleaning solution, and a clean, damp cloth.
Step 3: Shake it out
Start by shaking the mouse pad out to remove any loose debris or dust. We recommend doing this outside, you don’t want to just move the debris to a different part of your setup or room!

Step 4: Apply cleaner
Take your all-purpose cleaner or mild cleaning solution and apply it to the clean, dry cloth. Gently rub the surface of the mouse pad with the cloth, being careful not to saturate the pad or material. If you are using a cleaning solution, it's important to make sure the solution is not too strong, otherwise, it might cause damage to the surface, or leave behind residue or streaks on the material.
Step 5: Wipe it down
After you've finished cleaning the surface of the mouse pad, use the clean, damp cloth to wipe it down and remove any remaining cleaner.
You can also run water over the mouse mat in a sink or basin to remove any remaining cleaner.
Step 6: Allow to dry
Allow the mouse pad to dry completely before using it again. Avoid placing it in direct sunlight or using any type of heat source to dry it, as this can cause damage.
Ensure the mouse pad or mat is thoroughly dry and not damp in any places before placing your electronics back on top of it.
Step 7: Repeat as needed
Depending on how often you use your mouse pad, it may need to be cleaned as often as once a week.
Additional tips:
- Avoid using abrasive materials or harsh chemicals, they can damage the material or leave residue.
- If your mouse pad is made of a hard surface or has a textured surface that can't be cleaned with the above method, you can try using a duster, brush, or vacuum cleaner to remove the dirt.

By keeping your mouse pad and mat clean, you'll not only keep your mouse in good working condition, but you'll also improve your gaming or working experience and prolong the life of your mouse pad! No need to buy a new mouse pad when a good cleaning can make it feel like new! A little bit of regular maintenance can go a long way towards keeping your mouse pad in top shape.